- 3-minute read
- 2nd July 2019
How to Add a Watermark to a Microsoft Word Document
If you need a document to look professional, or to clearly mark it as confidential or unfinished, you might want to add a watermark. But what exactly does this involve? To answer this question, we’re taking a look at how to add and remove watermarks in Microsoft Word.
What Are Watermarks?
Originally, a ‘watermark’ was an image added to paper during production to show where it came from or identify the paper type. Nowadays, though, watermarks are used for various things, including:
- Adding a logo to the background of each page in a company document
- Showing that something is unfinished (e.g. ‘DRAFT’ or ‘IN PROGRESS’)
- Showing that the information in a document should not be shared (e.g. ‘DO NOT COPY’ or ‘CONFIDENTIAL’)

It’s also much easier to add a watermark to a document these days; you don’t even need a paper mill! All you need is a copy of Microsoft Word and a few moments to read our advice.
Adding a Watermark
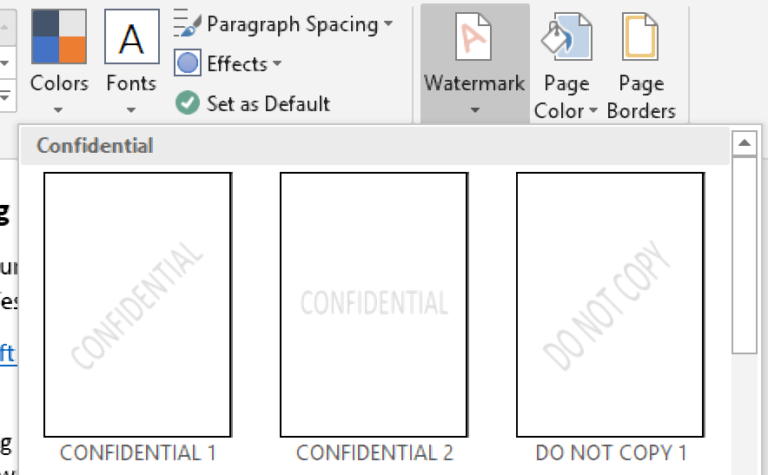
Microsoft Word comes with default watermarks for common uses, such as labelling a document as ‘URGENT’ or ‘CONFIDENTIAL’.
To use one of these standard watermarks in your work:
- Go to Design > Page Background on the ribbon
- Click Watermark to open a dropdown menu
- Choose a watermark from the options in the gallery
This will then add your chosen watermark to the background of every page.
Custom Watermarks
If the default watermarks aren’t suitable for your needs, you can use a custom watermark instead. To do this, go to Design > Page Background > Watermark on the ribbon and select Custom Watermark. This opens a new window where you can pick the type of watermark to add. The options are:
Find this useful?
Subscribe to our newsletter and get writing tips from our editors straight to your inbox.
- Picture watermark – Lets you use an image (e.g. a company logo) as a watermark. You can also choose the size of the image on the page and whether to add a ‘Washout’ effect.
- Text watermark – Lets you set a word or phrase as a watermark. You will also find options to control the angle, font, size, colour and transparency of the watermark in this menu.
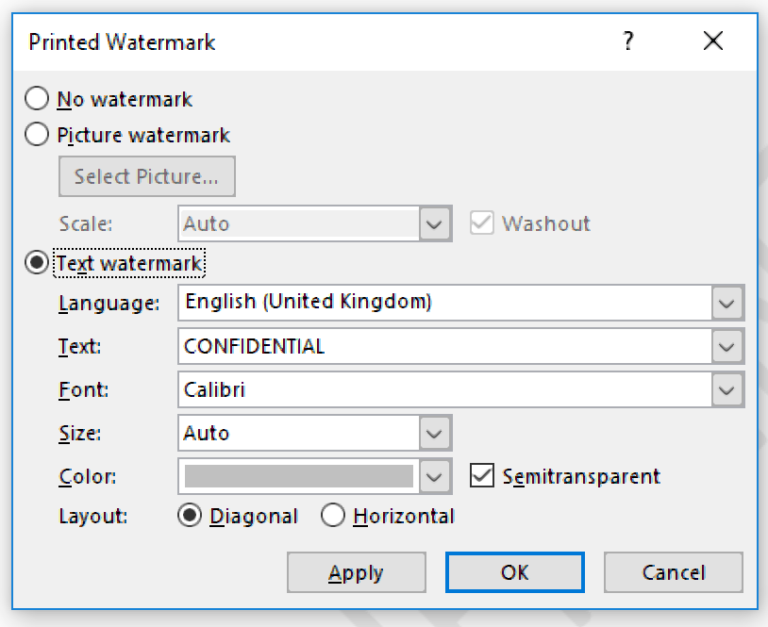
All you need to do is select a watermark type, adjust the settings as required, and click OK or Apply. Your custom watermark will then appear on every page in the document.
If you only want to add a watermark on a single page, though, you can:
- Insert a picture manually on the page where you need it to appear
- Use text wrapping to place the image behind the text
- Adjust the colour of the image to create a ‘washout’ effect
You can then copy and paste the image if you need to use it on other pages later in the document.
Removing a Watermark
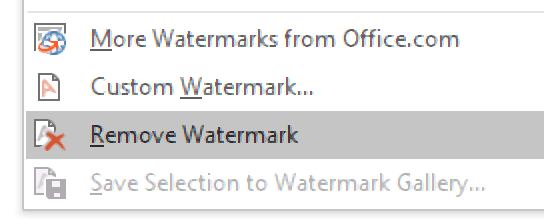
Finally, to remove a watermark from a document, all you need to do is:
- Go to Design > Page Background
- Click Watermark
- Select Remove Watermark
This will remove the watermark throughout your document.
Summary: How to Add a Watermark in a Word Document
- To add watermark, go to Design > Page Background > Watermark and select a design from the dropdown menu (or choose Custom Watermark)
- To remove a watermark in Microsoft Word, meanwhile, simply go to Design > Page Background > Watermark and select Remove Watermark