- 3-minute read
- 7th February 2015
How to Label Tables and Figures in Microsoft Word
When you are writing an academic document, make sure that you label tables and figures correctly. This is paramount; incorrectly labelled tables and figures can cost you vital marks!
If you can’t work out how to do this, or if you are worried about it, you can always get it checked by a professional. However, if you want to learn how to do it yourself, read on!
How to Label Tables
Tables usually need to have a label positioned above the table itself. Number tables sequentially (i.e. ‘Table 1’, ‘Table 2’, etc.) and make sure the label explains exactly what data the table presents.
For example, if the first table in your document contains information about commuting by bicycle in Melbourne during 2014, you might label it:
Table 1: Daily Commutes Made by Bicycle in Melbourne, 2014.
How to Label Figures
Figures and graphs usually need to have a label positioned below the figure or graph. As with tables, make sure to number the figures in your document sequentially and to use labels that explain the data clearly and accurately.
How to Insert a Label in Microsoft Word
Labels for tables and figures are known as ‘captions’ or ‘legends’. To insert a caption in Microsoft Word, here is what you need to do:
On a PC
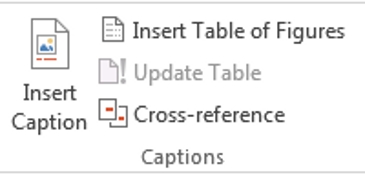
Select the item that needs the caption and go to References > Insert Caption.
Find this useful?
Subscribe to our newsletter and get writing tips from our editors straight to your inbox.
Next, the caption menu will appear.
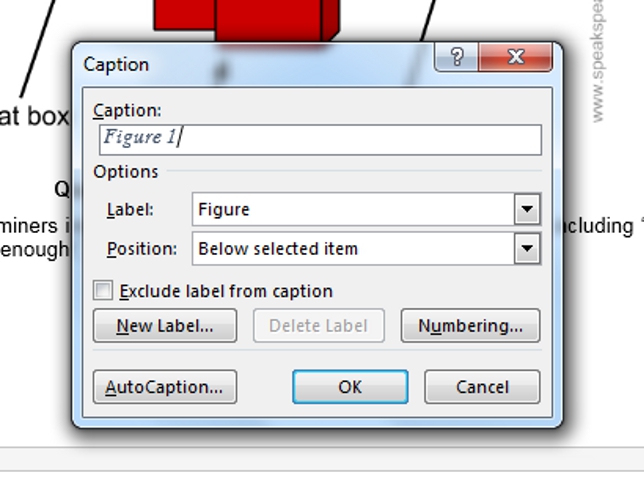
Here, the first part of the caption will be auto-filled. The default is set to ‘Figure’, which can be applied to images and graphs. You can also select a ‘Table’ label from the dropdown menu. These automatically update to the next number, so if two figures have already been captioned this way, the caption box will display ‘Figure 3’.
The rest of the settings can typically remain the same unless you are using a different numbering system.
On a Mac
Select the item that needs the caption and go to Insert > Caption. This will make the caption menu will appear.
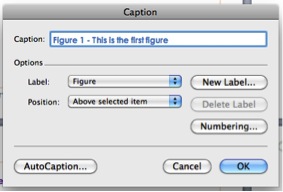
The rest of the process is the same as with a PC.
Using the caption function rather than manually writing out labels will make it easier when you come to inserting a table of figures or tables. Good luck!