


The ‘Heading’ styles in Microsoft Word are crucial for two reasons. First, they let you quickly apply headings in a document for a tidily formatted finish. Second, they let you automatically generate a table of contents at the click of a button.
In this post, we’ll walk you through the basics of how to use ‘Heading’ styles in Microsoft Word.
Finding and Applying Heading Styles
Microsoft Word offers several default heading styles so you can apply different formatting to different levels of heading (Heading 1 for chapter titles, Heading 2 for section titles, etc.). These can be accessed via the ‘Styles’ gallery in the ‘Home’ tab on the main ribbon.


If you can’t find the heading style you need in the gallery, you’ll need to open the ‘Styles’ pane:
- Go to Home > Styles and click on the little arrow in the bottom right corner
- If the required heading style is not listed, click ‘Options…’ in the bottom right
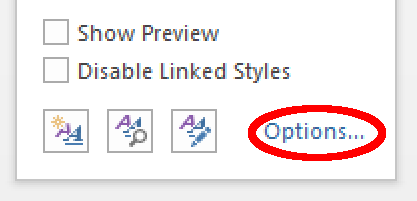
Opening the style options. - Under ‘Select styles to show’, select ‘All styles’
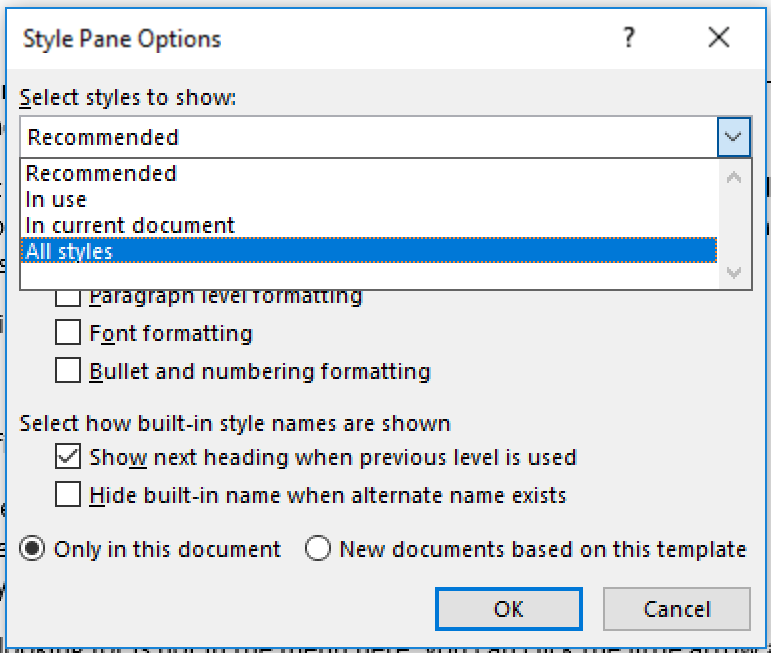
Selecting styles to display. - Find the heading style you need in the ‘Styles’ pane


You can then highlight the text that you want to format and click the chosen ‘Heading’ style in the gallery or the ‘Styles’ pane to apply it. Once a heading style has been applied somewhere, it will be added to the gallery if it wasn’t there before.
Modifying Styles
Of course, the default heading styles might not be what you need. This isn’t a problem, since you can quickly update any style in Microsoft Word with a few clicks. Simply:
Find this useful?
Subscribe to our newsletter and get writing tips from our editors straight to your inbox.
- Find the style you want to modify in the gallery or the ‘Styles’ pane
- Right click and select ‘Modify’ from the menu
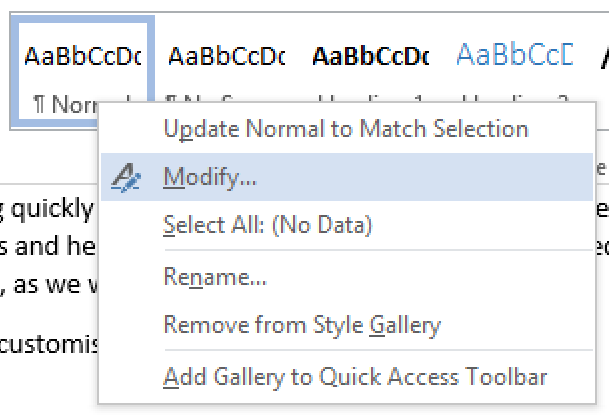
Modifying a style. - In the dialog box that opens, pick the formatting options required
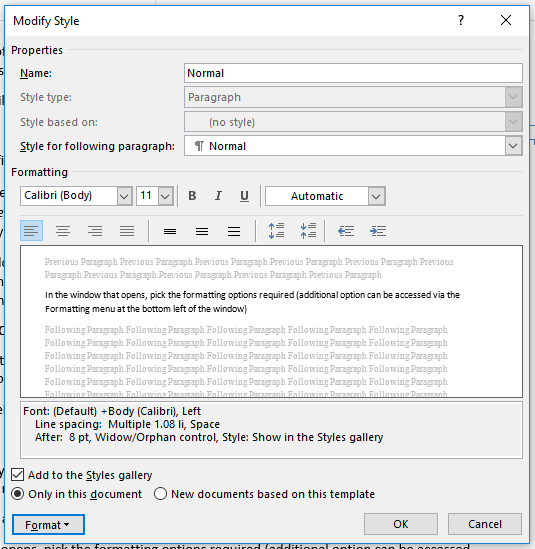
Formatting options. - Click ‘OK’ to update the style


As well as letting you apply the new formatting as required, this will automatically update all headings in your document that already use the modified style.
Numbered Heading Styles
In some documents, you may even want to apply numbered headings and subheadings. To do this in Microsoft Word, you need to use the ‘Multilevel List’ options:
- First, apply different levels of headings throughout your document as required
- Next, go to ‘Multilevel List’ in the ‘Paragraph’ section of the ‘Home’ tab
- Click the little arrow to open the ‘Multilevel List’ options
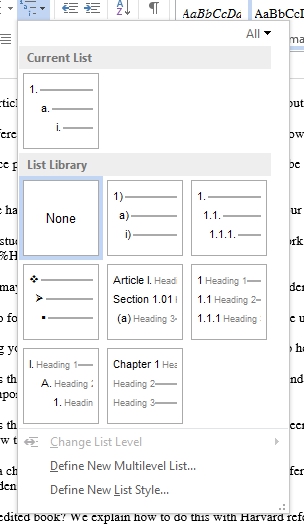
Multilevel list options. - Select a list style that includes ‘Headings’

This will then apply numbering to all the headings in your document.

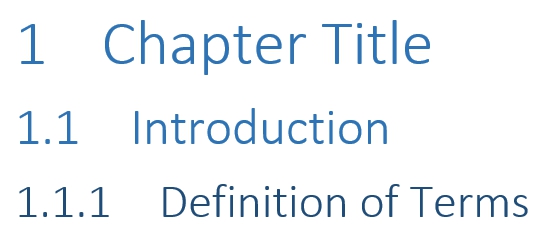
In addition, it will automatically update the numbering if any headings or subheadings are added or deleted while you edit your document, which saves time and ensures continuity.