


A well-written essay is a good thing. But a perfect essay needs more than just good writing. It also needs to be professionally formatted. And to do this, you’ll need to master text alignment in Microsoft Word. Herein, we explain what you need to know.
Text Alignment
Setting text alignment is simple. All you need to do is go to the ‘Paragraph’ section of the ‘Home’ tab on the main ribbon in Microsoft Word. Here, you’ll find a set of four options in the bottom left corner (represented by four horizontal lines in various arrangements).


These are the basic text alignment options. From left to right, they are:
- Align Left – Sets text to begin at the left of the page
- Center – Positions text in the centre of the page (we use the US spelling of ‘Center’ for this option because this is how it’s spelled in Microsoft Word)
- Align Right – Places text at the right margin (although text still reads from left to right)
- Justify – Spaces text so that the first word on a line is aligned to the left margin and the last word on a line is aligned to the right margin (also known as ‘full justification’)
For essays, ‘Justify’ is often the best choice, as it presents text in neat blocks. However, some people prefer Align Left in order to avoid ‘rivers’ (i.e. vertical lines of empty space).
Find this useful?
Subscribe to our newsletter and get writing tips from our editors straight to your inbox.

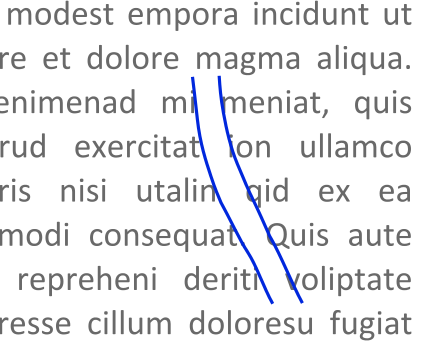
‘Align Right’ is fairly unusual, but it can be used to set captions at the right-hand side of an image. ‘Center’, meanwhile, is useful for headings and some short examples, but it isn’t usually used with larger blocks of text. For that, you’ll need to use Microsoft Word’s indentation options.
Text Boxes
If you need to type elsewhere on the page, you can use a text box. These work like images (i.e. you can set other text to ‘wrap’ around the box, so anything you type there will be separate from the rest of your work). To add a text box to a document:
- Go to Insert > Text and click ‘Text Box’

Adding a text box. - Select a text box style from the menu or click ‘Draw Text Box’
- Adjust the box size and position by clicking and dragging the margins


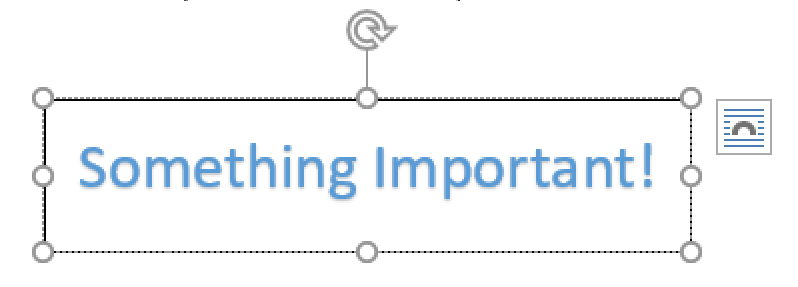
You can then type in the box (look out for text disappearing if you type more than fits within the margins; you can increase the size of the box if this happens). In addition, you can change the style of the text box (or add other elements) via the ‘Format’ menu while the box is selected.