-
3-minute read
-
2nd August 2018
Microsoft Word Tips: How to Use Text Wrapping
From corporate logos in press releases to scientific diagrams in essays, there are many reasons to include images in a Microsoft Word document. But how images fit with the surrounding text is an important part of formatting, so you need to understand text wrapping.
What Is Text Wrapping in Microsoft Word?
Text wrapping refers to how images are positioned in relation to text in a document, which ensures that pictures and charts are presented neatly. Your options for this in Microsoft Word are:
- In Line with Text – Places an image on the same line as surrounding text. The image will therefore move as text is added or removed, whereas the other options here mean that the image will stay in one position while text shifts and ‘wraps’ around it.
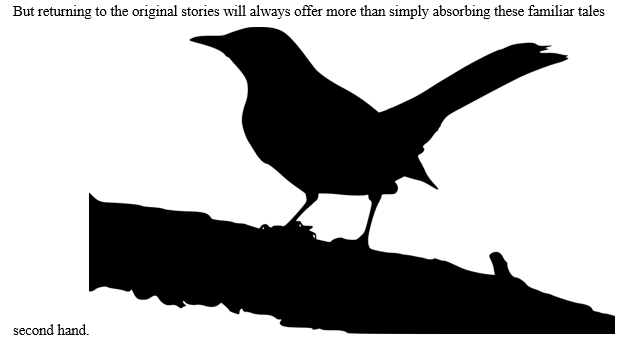
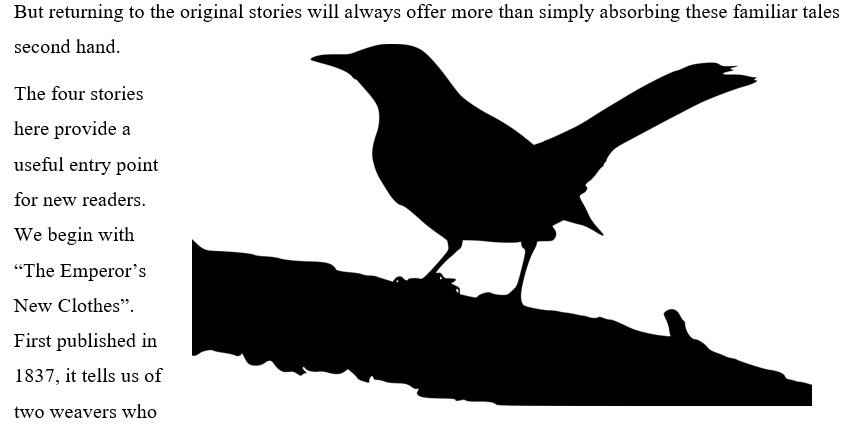
Image in line with text. - Square – Allows text to wrap around the images on all sides at right angles, as if it has a rectangular box around it. This is the most common form of text wrapping.
Square wrapping. - Top and Bottom – Text wraps above and below the image so that the image is on its own line. This is most useful for larger images that occupy most of the width of a page.
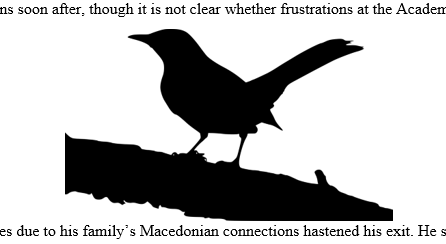
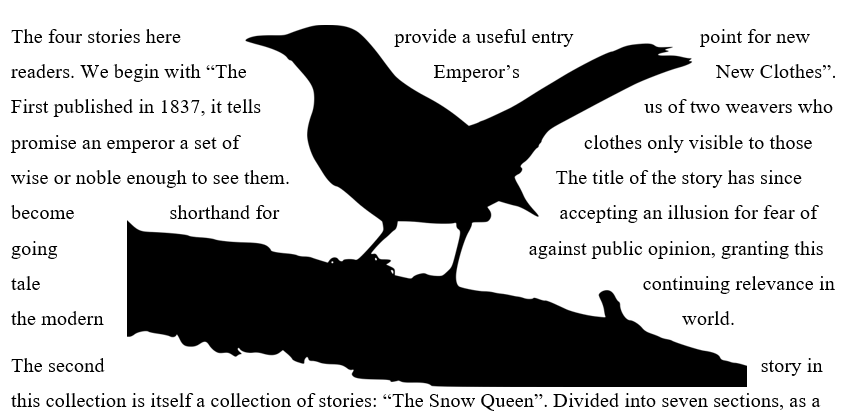
Top and bottom wrapping. - Tight – Similar to Square wrapping but without the rectangular box, so text wraps around the edges of the image itself. This is useful for irregularly shaped images.
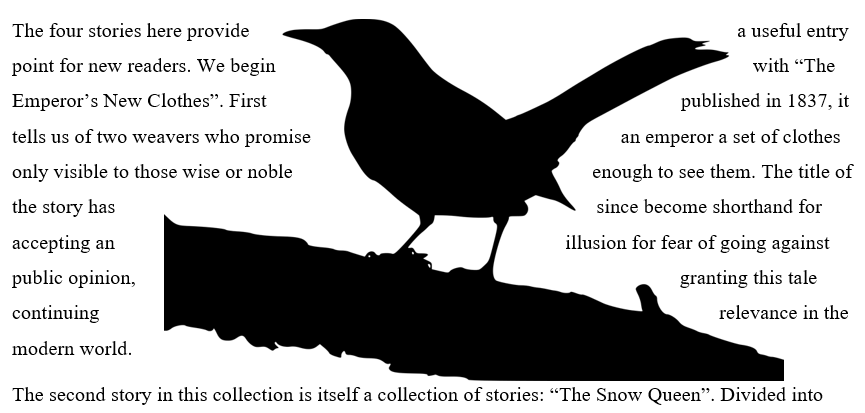
Tight wrapping. - Through – Similar to Tight wrapping, but text will also fill any white gaps within the image.
Text wrapping through an image. - Behind – Places an image behind the text, allowing you to add a watermark or background image to a page (although Microsoft Word has a separate watermark option, too).
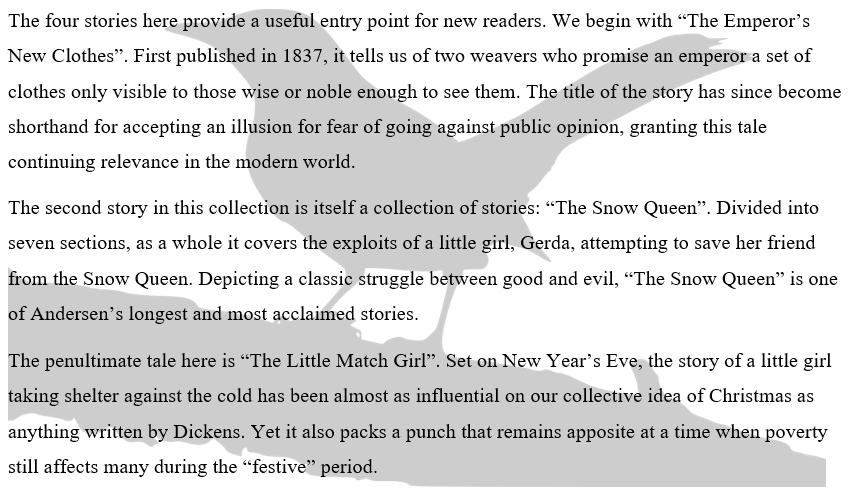
Image behind text. - In Front of Text – Places the picture in front of the text. This can be used to circle text or add an arrow to highlight a specific term within a passage.
The best choice for you will depend on your needs, but Square or Tight wrapping is standard in most cases.
How to Control Text Wrapping
After adding an image to your document, you can adjust the text wrapping. To do this:
Find this useful?
Subscribe to our newsletter and get writing tips from our editors straight to your inbox.
Subscribe to Beyond the Margins and get your monthly fix of editorial strategy, workflow tips, and real-world examples from content leaders.
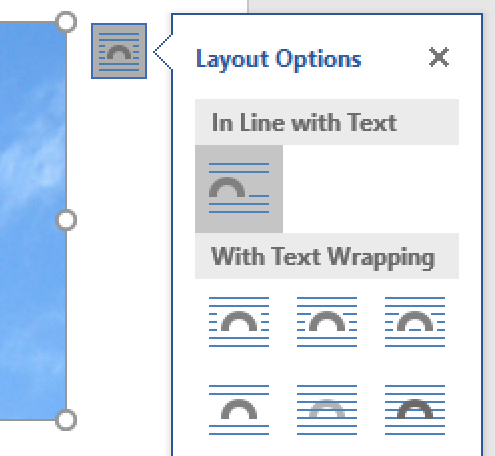
- Click the image you want to format
- Click the Layout Options button or go to Format > Arrange > Wrap Text
- Select the setting required for your image
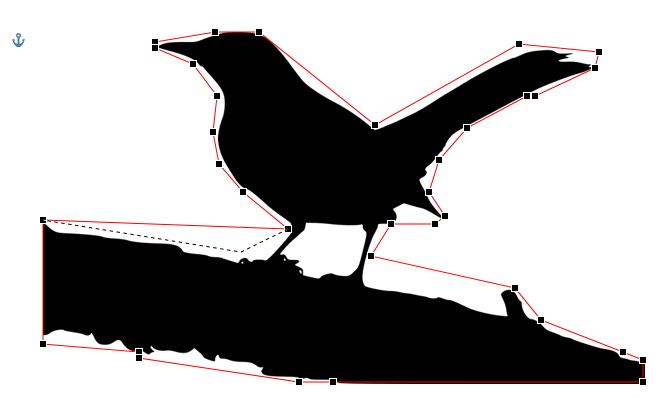
If you want to use the Tight or Through options effectively, you may also need to adjust the wrapping points for the image. To do this, select the image in question and then:
- Go to Format > Arrange
- Open the Wrap Text menu and click Edit Wrap Points
- Drag the red lines to adjust the wrap points as required
These instructions are for Windows computers, but the process in Word for Mac is very similar.